In reality, it's been a total of 6 school days of work with a couple late evening outside of the shop at my garage space at home to finish this bad boy(and to practice learning to play it for the final play-test)!
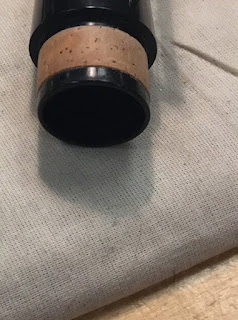
So, in my last post, I pointed out some dirty, old and cracked tenon corks on my clarinet. Here is a before and after picture of one of the tenon corks after I replaced it:


Notice how the cork looks "fresh" and bright on the new cork(right picture)
After I removed the old cork with a pair of pliers(scary!) and cleaned the old contact cement off with goo-gone to create a smooth bonding surface, I cut the new cork to fit, and sanded all the way around so the joints would fit perfectly together. Unfortunately, I did not take any photos during this process, I'll make sure to remember for future posts.
When all of my project was ready to be turned in to be graded, I had done the following:
straightened and polished keys, install new pads that all seal against the tone holes evenly not letting any air escape, as well as cutting, shaping and sanding new "foot corks" which is the shaped piece of cork that lives under most of the keys and acts as a stop or brake by making contact with the body(pictured on the right):


No comments:
Post a Comment